
 |
| Available at www.yoursmineandhers.com |
Using a bias binder gives you a clean, neat finished
edge on many projects from large quilts to hems for garments and
other projects.
We love bias cut bindings, however, if you are not binding around a
curve you can also use straight cut fabric in our binding attachments. Just be sure you cut the width of
your binding exactly to the size of the binder you are using or your finished results will not be satisfactory.

We love the 6th Finger Stilletto and include one with each binder.
It is very handy for use with the binder, as well as, many other projects
that might require a delicate touch.

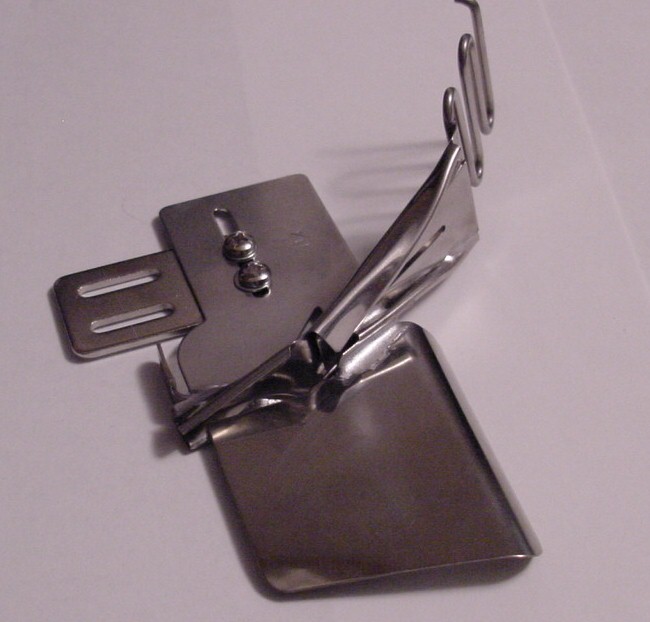
The binder mounts to the machine at the 2 threaded holes to the right of the pressure foot.

Cut the end of your fabric strip at an angle so it will be easier to slide into the binder.

This is one place the sixth finger stiletto comes in very handy to help feed the fabric through the binder. Note the wrong side of fabric facing out toward you.
Insert
your project into the binder between the metal as shown. Begin to sew and
have the stitching fall where it catches the binding fabric. If
your machine has the left/right needle position you can position it
perfectly! I also use different decorative stitches to attach the binding. The serpentine stitch looks great on many projects.


Whether using bias or straight cut bindings, our binder attachments can help you achieve a professional finish (in short time) in a variety of widths and on a variety of projects. Mom has a much more detailed tutorial over on her blog. You can check it out here.


No comments:
Post a Comment